


Custom embroidery is a timeless way to add personality, branding, or artistry to apparel and accessories.
Whether you're starting a print-on-demand business or simply want to create your own embroidered designs from scratch, this beginner-friendly guide will walk you through the entire process.
From choosing the right design tools and colors to preparing your files for embroidery machines, you'll learn everything you need to confidently bring your ideas to life—no prior experience required.
How to Make Custom Embroidery Designs
1. Get Clear on Your Idea
Before touching any tools, think about what you want your embroidery to look like. Keep it simple—something like a small icon, your name, or a basic shape is perfect for beginners. Ask yourself these questions:
- What item are you stitching on? (A hat, jacket, or tote bag?)
- How big should your design be?
- Do you want words, pictures, or a mix of both?
Drawing a quick sketch, even a rough one, helps turn your idea into a clear plan.
2. Find the Right Software for You
To turn your design into stitches, you'll need embroidery software. There are options that are easy for newbies and others that offer more features if you want to dive deeper later on. Some popular beginner-friendly picks include:
- Free programs like Ink/Stitch
- Affordable ones like SewArt
- More professional software if you want to upgrade later
Look for software that lets you upload your image, converts it to stitch patterns, and saves in a format your machine understands.
3. Digitize Your Design Carefully
Digitizing is the step where your picture becomes a set of instructions for the embroidery machine. Don't worry if it sounds complicated—good software guides you through it. You will:
- Import your image
- Choose the types of stitches (like satin stitches for smooth edges, or fill stitches for solid areas)
- Adjust how dense the stitches are and their direction
- Preview the stitch layout before saving
Tip: Keep fonts bold and clear. Thin letters often get lost once stitched on fabric.
4. Choose Colors and Materials
Now the fun part: picking thread colors and the right fabric. Here's what to think about:
- Choose thread colors that stand out against your fabric's color
- Pick materials that suit the project—cotton or canvas works great when you're just starting
- Avoid super stretchy or slippery fabrics for your first few tries, as they're harder to work with
This step can really change how your final design looks and feels.
5. Test Your Design First
Always do a test run before working on your final piece. Use some scrap fabric that's similar to your project material and stitch your design. Watch out for things like:
- Thread bunching or loose stitches
- Missing parts of the design
- Uneven or messy edges
If something looks off, go back and tweak your design. Adjust stitch density or change stitch types as needed. Remember, it's totally normal to redo a few tests before getting it right.
6. Save and Keep Your Files Organized
Once your design looks great on the test fabric, save the final file in the right format for your machine—usually something like .DST or .PES. Keep your files tidy by organizing them with:
- The original sketch or image
- The digitized embroidery file
- Notes on any changes you made during testing
This will make it easier to find and reuse your designs later on.
How to Convert a Picture into a Hand Embroidery Design?
Turning a photo into a hand embroidery pattern might seem tricky, but it's quite doable with some easy steps.
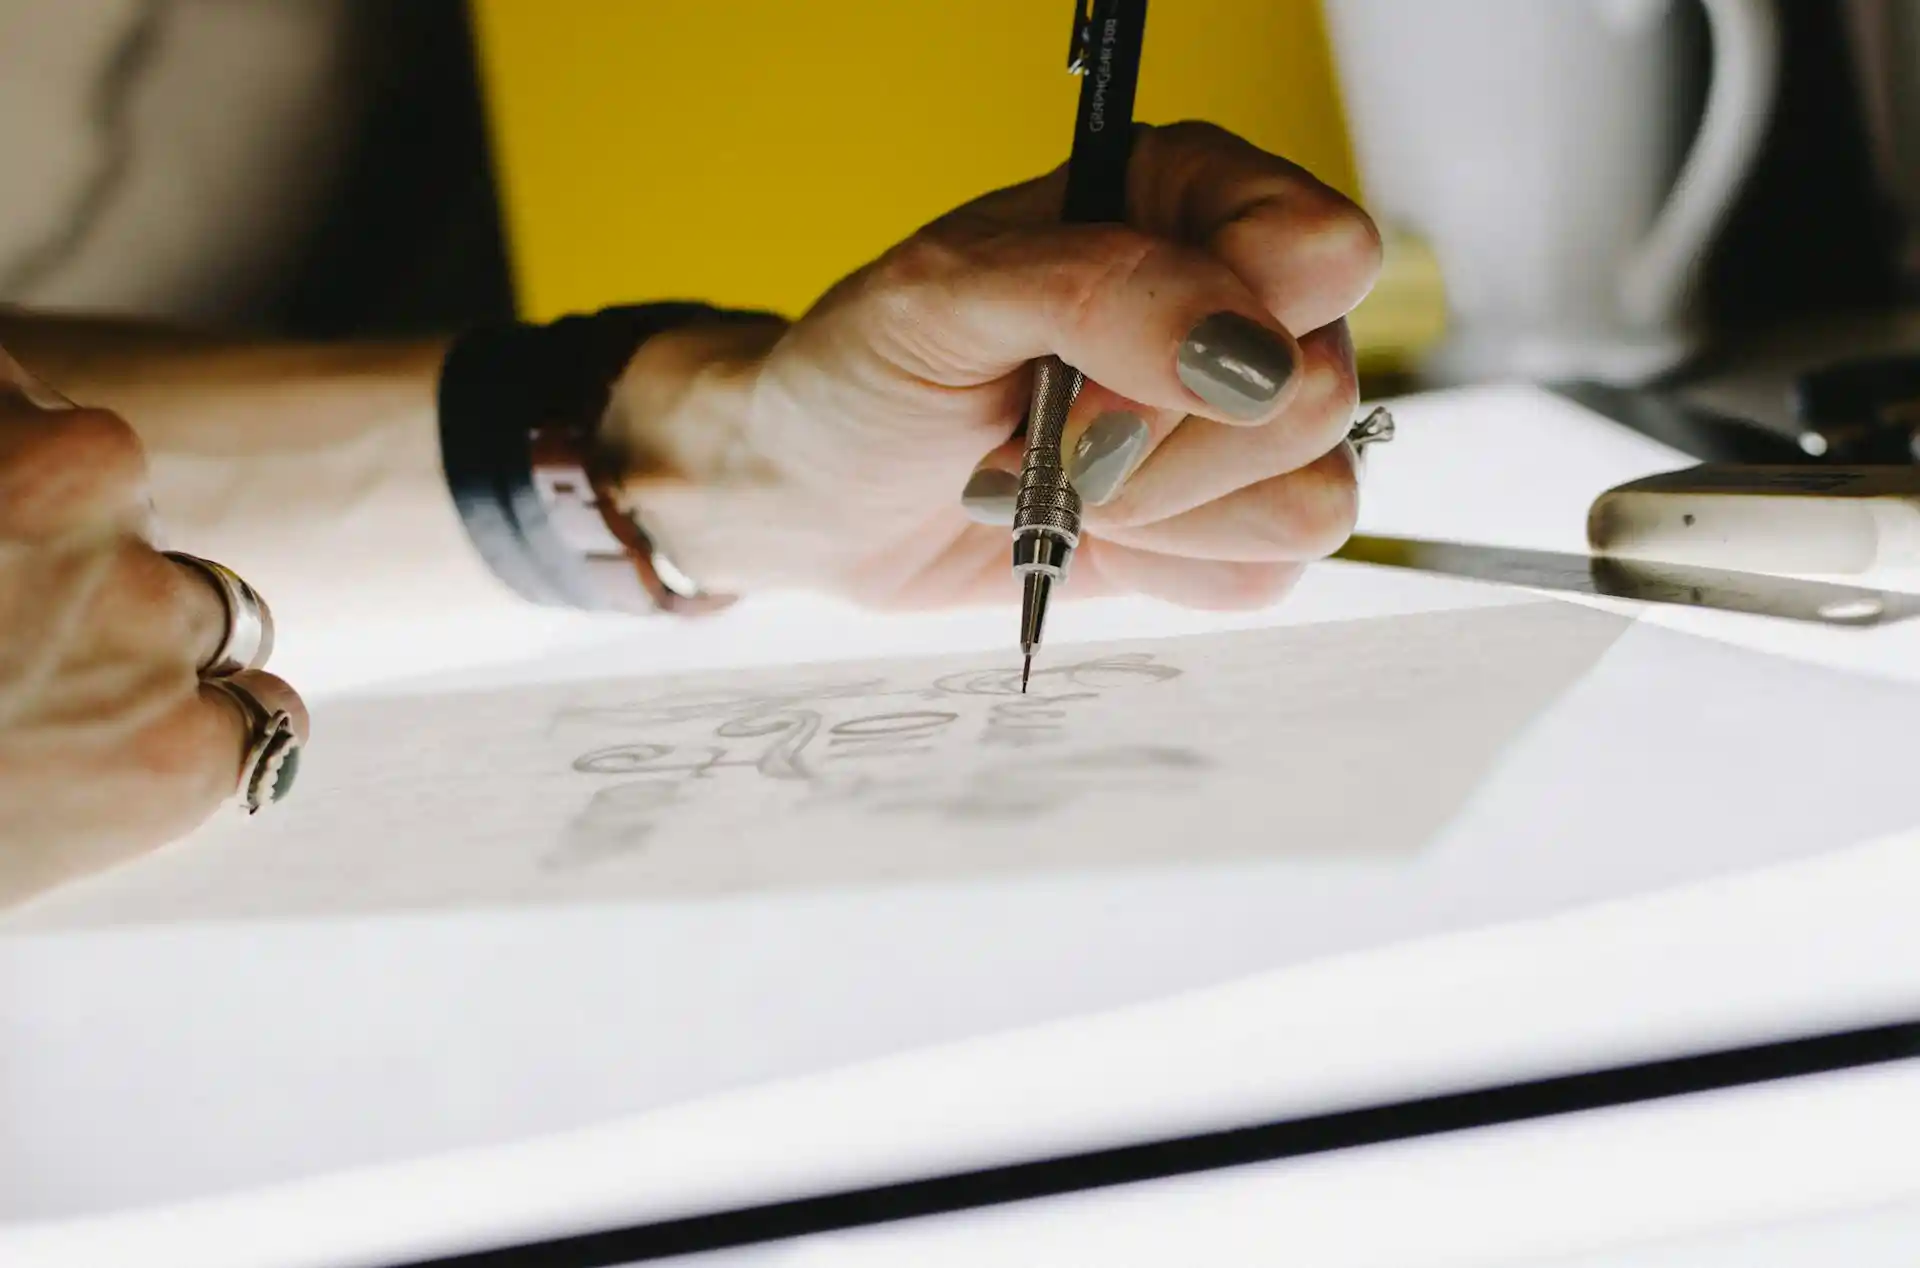
Try searching for a coloring book page or a simple outline drawing of your subject online. These line arts are perfect because you can trace them directly onto your fabric and fill them in with thread.
If you have a photo you want to use, you can make the outline stand out by editing it on an iPad or tablet. Use an app to trace the important lines, then delete the photo, leaving only your outline. This way, you can use your device as a tracing board, placing it under your fabric for easy transfer.
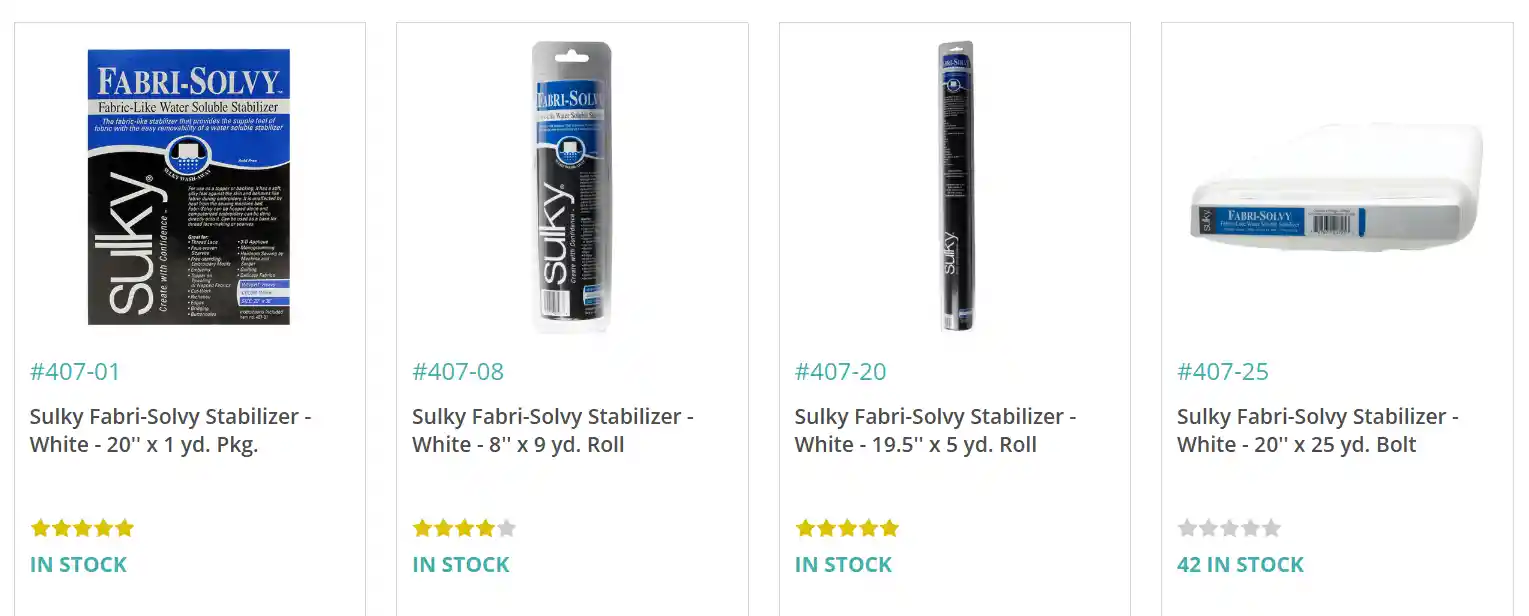
Another great tool is Sticky Fabri-Solvy stabilizer. You can draw or print your pattern on it, then stick it on your fabric and embroider right over it. It washes away later, leaving only your stitches behind.
For color choices, look at real pictures to pick thread colors that match closely.
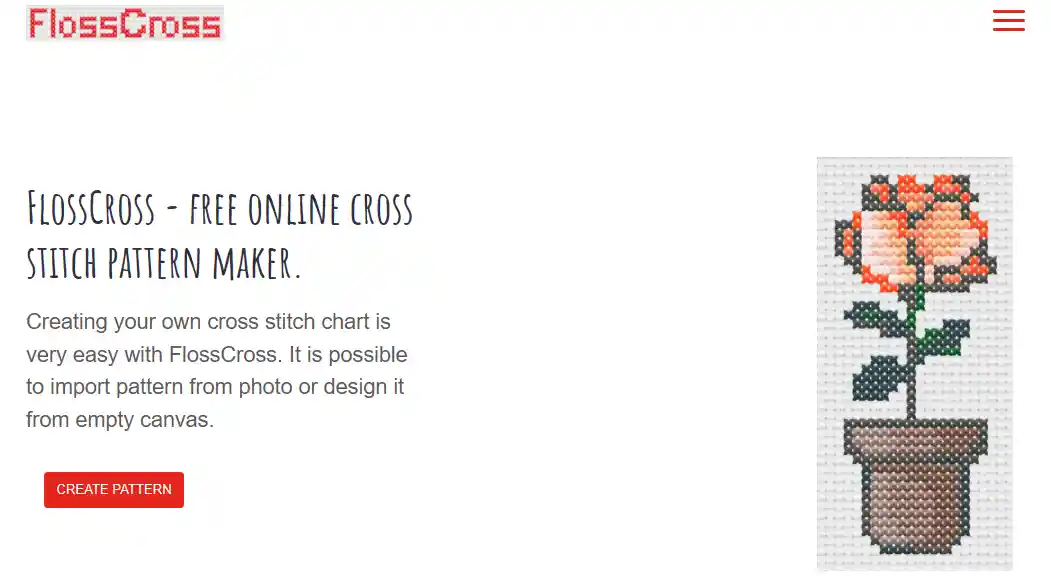
If you want a digital helper, check out free tools like Flosscross to convert photos to patterns, adjust colors, and even get a floss list.
How to Digitize an Image for Embroidery Machines
Digitizing an image means turning your design into a format that an embroidery machine can read and stitch. It's an important step if you want your design to come out just right.
Check what file types your machine supports. Common ones are DST, PES, or EXP. Your machine's manual or website should tell you this.
If your machine can't connect directly to your computer, you'll probably need to save the digitized file on a USB stick and plug that into the machine.
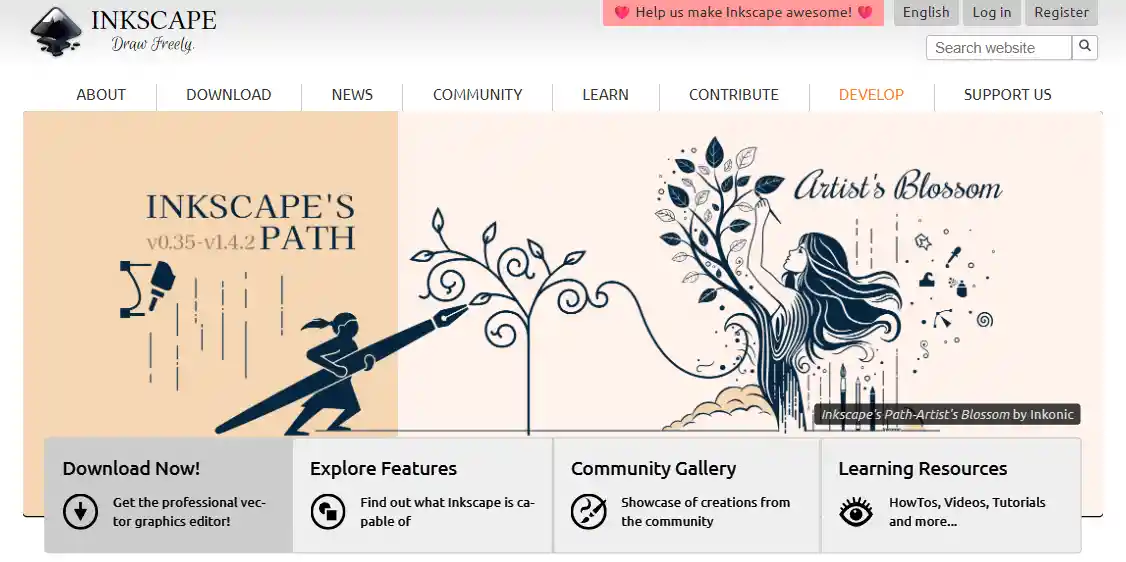
Convert your design into a vector file. This means changing it from pixels to shapes that software can easily read. You can use free tools like Inkstitch, which works as a plugin for Inkscape.
Although it's not as powerful as paid software, it's a great way to learn the basics without spending money.
After you vectorize your image, you digitize it by assigning stitch types and directions. This step is key because it decides how the machine will sew your design.
Many tutorials online explain this well — check out YouTube channels like John Deer's Embroidery Legacy for detailed guides.
Once you finish digitizing, export the file in your machine's preferred format, transfer it, and you're ready to stitch.
If you don't want to digitize yourself, you can find many ready-made embroidery files online. Just download and load them onto your machine.
Best Embroidery Digitizing Software for Beginners
Before you start stitching, you need to digitize your design. This means converting your image into a file your embroidery machine can read. Let's look at some software options, from free to paid.
InkStitch: Free and Friendly
If you want something free, try InkStitch. It works as a plugin for Inkscape, a free vector editor. It's great for beginners because it runs on Mac, Windows, and Linux.
You can create vector images and digitize them with some practice. The learning curve is there, but the online tutorials and community support help a lot.
Stitch Era Liberty: Affordable Subscription
For a low-cost option, Stitch Era Liberty costs about $200 per year. It's not perfect but does a good job for basic digitizing. This is a nice step up if you want more features than free software but don't want to spend too much.

Paid Software: Powerful but Pricey
Programs like Hatch or SewWhat Pro cost a lot more—sometimes over $1,000. These have many advanced tools but can be overwhelming and expensive if you're just starting. Some cheaper paid programs can be buggy or limited, so try free trials before buying.
Extra Tools: StitchBuddy for Viewing
If you just want to view or tweak embroidery files without digitizing, StitchBuddy is a helpful tool. It's not for creating designs but great for checking colors and stitches.
Best POD Products for Custom Embroidery Designs
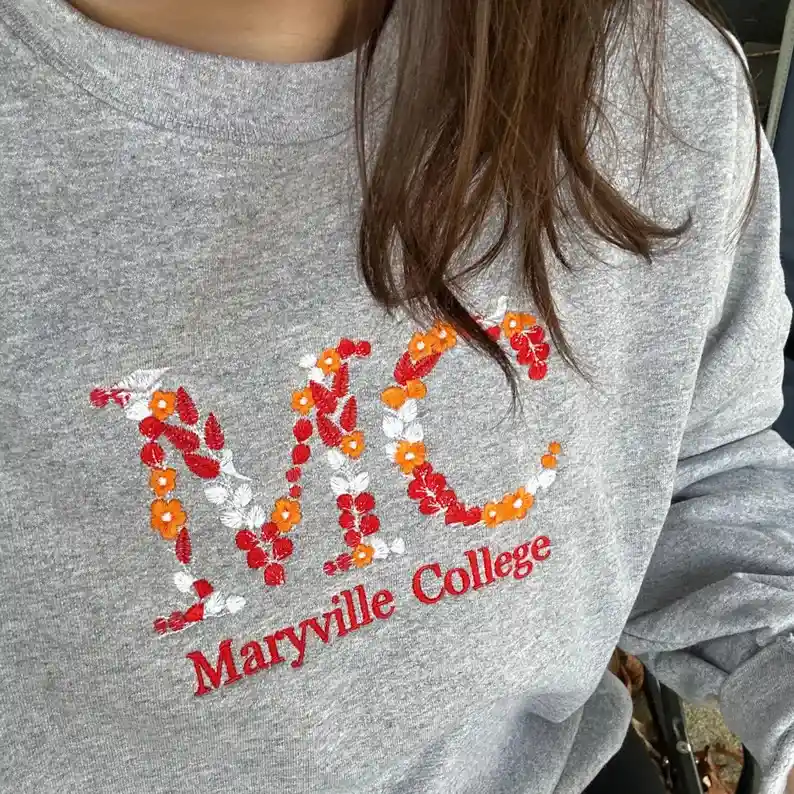
1. T-Shirts
T-shirts usually have embroidery on the chest, sleeves, or near the collar. Small logos, text, or simple patterns work best.
This spot is perfect for casual looks or group uniforms. You can create clean, minimal designs or fun, colorful ones depending on your style and purpose.
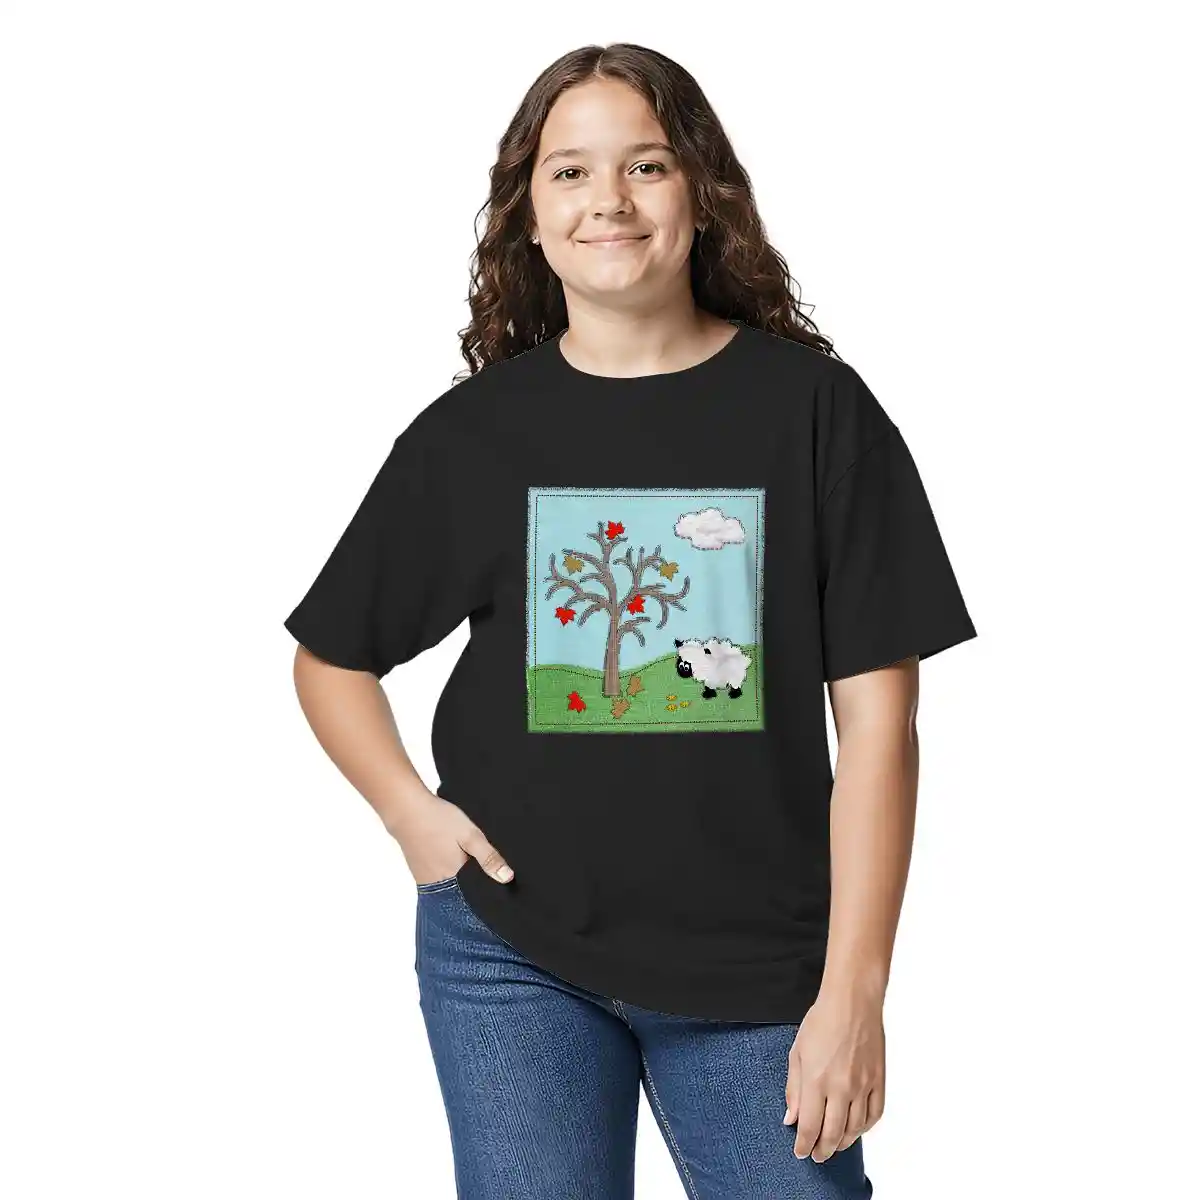
Custom Gildan 5000B Youth Cotton T-Shirt (Made in USA) - Print-On-Demand - PrintKK
2. Caps/Hats
Caps are great for embroidery on the front panel or sides. Bold logos, initials, or simple shapes look clear and sharp there. This product suits sporty, outdoor, or casual styles. You can keep the design simple and strong to stand out on these smaller spaces.

Source: EmbroideryByNeslihan
3. Tote Bags
Embroidery on tote bags is usually placed on the front center or near the handles. Monograms, floral patterns, or quotes work well here. These bags are perfect for shopping or everyday use. Choose delicate or elegant designs to make them look stylish and personal.
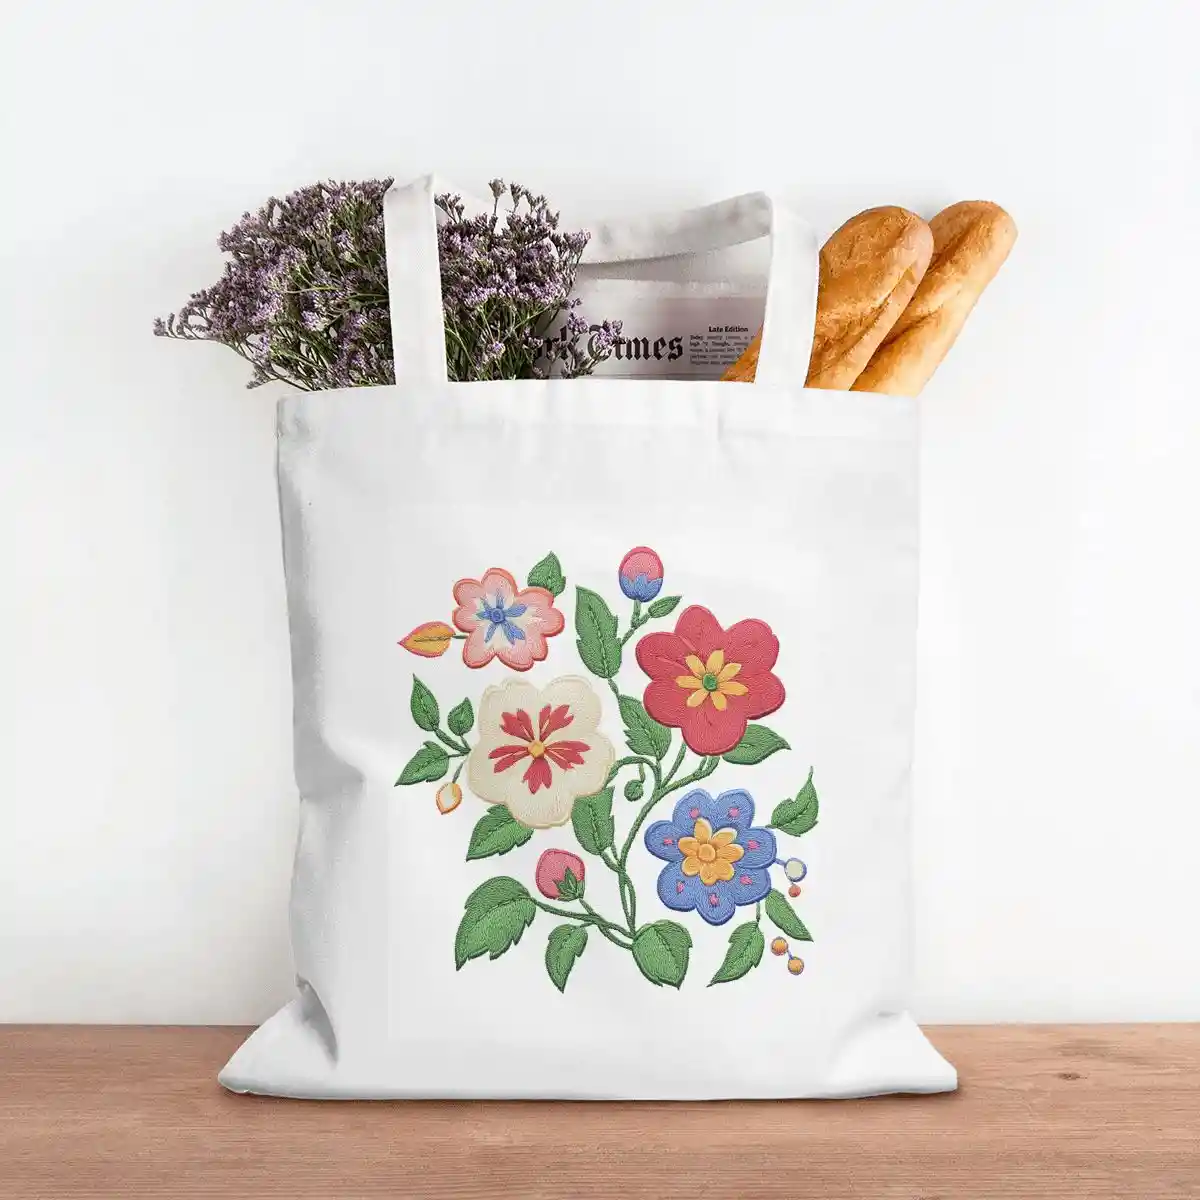
Print on Demand Canvas Tote Bag (Made in USA) - Handbag - PrintKK
4. Socks
The ankle or side of socks is the common embroidery area. Small icons, initials, or playful patterns fit nicely in this limited space. Embroidered socks are great for casual wear or gifts. Simple, cute designs help add a subtle but fun touch.
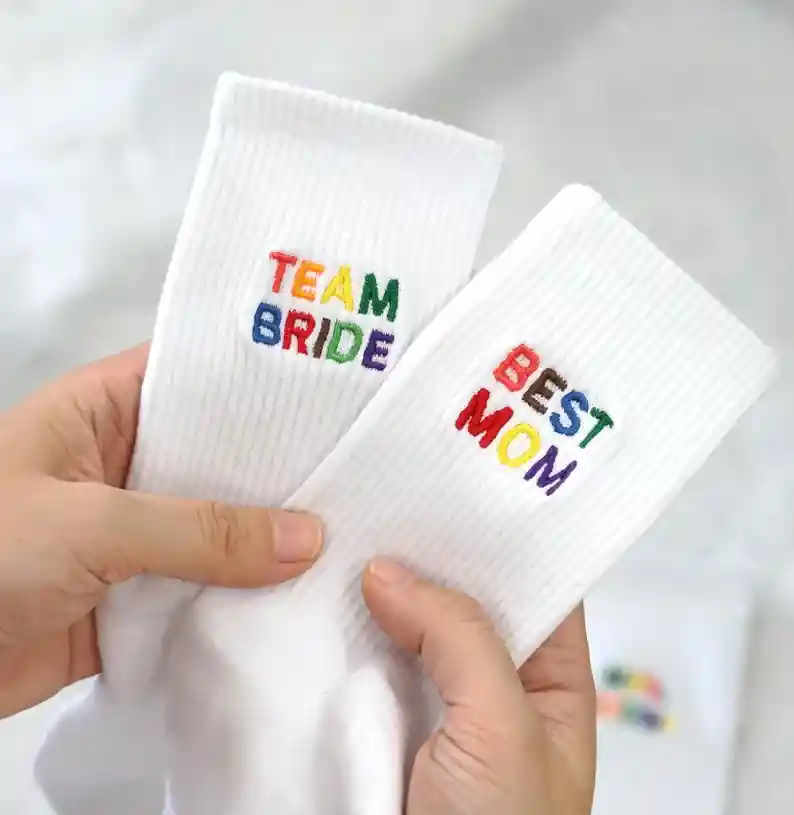
Source: ACustomGiftShop
5. Hoodies
Hoodies offer several spots like the chest, sleeves, or hood edges for embroidery. Larger, detailed designs or text work well here. They are ideal for cooler weather, sports, or streetwear styles. You can mix bold and intricate styles to match the cozy vibe.
Source: JoanheneStore
6. Hand Towels
Hand towels usually have embroidery in one corner or along the edges. Simple names, logos, or decorative borders look neat. These towels make great personalized gifts or gym accessories. Clean and minimal embroidery styles suit this practical product best.

Source: TeaRoseByPamela
Read More:
- 20 Trending Hat Embroidery Ideas: Make Your Caps Stand Out
- How to Start an Embroidery Business and Make It Profitable?
Expert Tips
Now you've learned the basic steps to create custom embroidery designs. You understand the importance of choosing the right products, designs, and stitching spots. With practice and care, anyone can make unique embroidery pieces.
Remember, embroidery takes patience and creativity. The more you try, the better you get. I hope this guide helps you start your fun journey. Keep creating, and enjoy the process.
FAQs
What skills do I need to create embroidery designs?
Basic drawing, creativity, and computer skills help. Learn design software, understand stitching basics, and practice patience to craft unique embroidery patterns that work well.
What program should I use to create embroidery designs?
Use software like Brother PE-Design, Hatch, or Inkscape (free). These programs let you draw, edit, and convert designs into files your embroidery machine can read.
Can I turn a picture into an embroidery design?
Yes! Use software to convert photos into stitch patterns. Adjust colors and details to simplify the image for clean, effective embroidery results on fabric.
What's the difference between custom embroidery designs and stock designs?
Custom designs are unique, made by you for specific projects. Stock designs are pre-made, less personal, but quicker and often cheaper to use for embroidery.
How expensive is custom embroidery?
Costs vary. Design software ranges from free to $200. Threads and materials add $10-$50. Custom work takes time, but you control the budget.


 Global Shipping


 Made in USA